Upgrade Your Window Screens on a Budget with These Simple Steps

Replacing window screens is pretty quick and easy. After doing the first one and getting the hang of it the rest only took me about 15 minutes each! I had all the screens replaced in just a couple of hours.
Spring is here and if you’re like me, you want to open up your windows and let in the fresh air without worrying about pesky bugs and insects getting in.
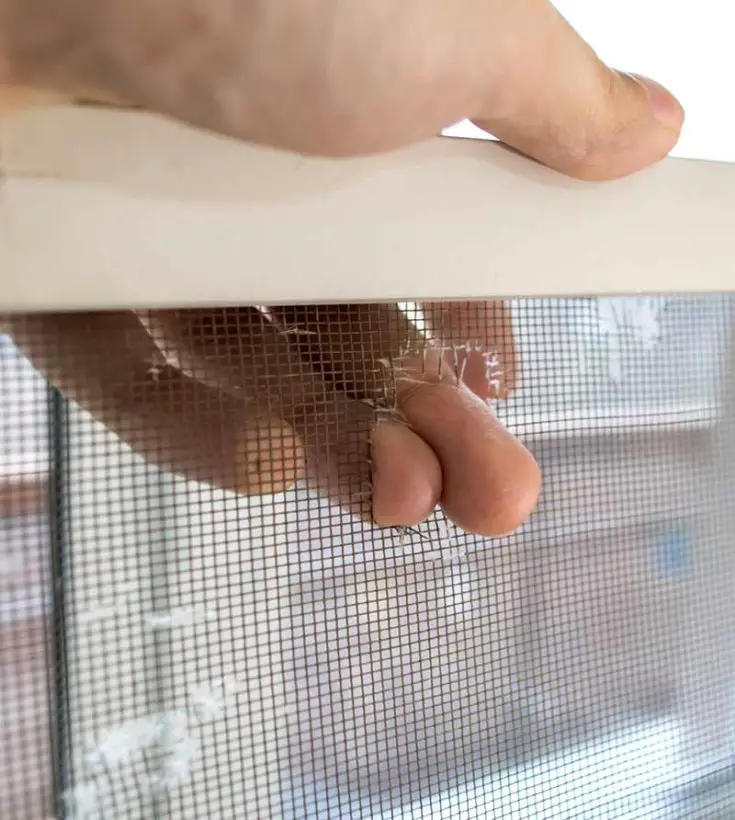
If you have a torn or damaged window screen, don’t worry – replacing it is a simple and straightforward process that you can do yourself with just a few basic tools.
To get started, you’ll need to remove the old screen from your window frame. Look for the tabs or springs that hold the screen in place and gently pry them out with a flathead screwdriver or putty knife. Once you’ve removed the old screen, measure the dimensions of the window frame where the screen will be placed.
Next, cut the new screen material to the correct size using a utility knife or a pair of scissors. Be sure to leave a little extra material on each side to allow for a snug fit.
Once you have the new screen material cut to size, place it onto the frame, making sure it’s aligned properly. Use a screen rolling tool to press the screen into the frame, starting at one corner and working your way around the frame. Pull the screen tight as you go to prevent wrinkles.
Finally, attach the new tabs or springs to hold the screen securely in place. Make sure the tabs or springs are properly aligned and firmly pressed into place. Use a utility knife or scissors to trim any excess screen material from the edges of the frame.
With just a few basic tools and some patience, you can easily replace your window screens and enjoy the fresh air without any unwanted pests. So, grab your tools and get started – your home will thank you for it!
Step-By-Step
- Remove the old screen: Locate the tabs or springs holding the old screen in place. Use a flathead screwdriver or a putty knife to gently pry the tabs or springs out of their slots. Remove the old screen from the window frame.
- Measure the new screen: Measure the dimensions of the window frame where the screen will be placed. Make sure to measure accurately so that the new screen fits snugly in the frame.
- Cut the new screen: Using a utility knife or a pair of scissors, cut the new screen material to the correct size. Make sure to leave a little extra material on each side to allow for a snug fit.
- Install the new screen: Place the new screen material onto the frame, making sure that it is aligned properly. Use a screen rolling tool to press the screen into the frame, starting at one corner and working your way around the frame. Be sure to pull the screen tight as you go to prevent wrinkles.
- Attach the new tabs or springs: Once the new screen is in place, attach the tabs or springs to hold it securely in place. Make sure the tabs or springs are properly aligned and firmly pressed into place.
- Trim the excess material: Use a utility knife or scissors to trim any excess screen material from the edges of the frame.
That’s it! Your new window screen is now in place and ready to use.
Upgrade Your Window Screens on a Budget with These Simple Steps
Instructions
Remove the old screen: Locate the tabs or springs holding the old screen in place. Use a flathead screwdriver or a putty knife to gently pry the tabs or springs out of their slots. Remove the old screen from the window frame.
Measure the new screen: Measure the dimensions of the window frame where the screen will be placed. Make sure to measure accurately so that the new screen fits snugly in the frame.
Cut the new screen: Using a utility knife or a pair of scissors, cut the new screen material to the correct size. Make sure to leave a little extra material on each side to allow for a snug fit.
Install the new screen: Place the new screen material onto the frame, making sure that it is aligned properly. Use a screen rolling tool to press the screen into the frame, starting at one corner and working your way around the frame. Be sure to pull the screen tight as you go to prevent wrinkles.
Attach the new tabs or springs: Once the new screen is in place, attach the tabs or springs to hold it securely in place. Make sure the tabs or springs are properly aligned and firmly pressed into place.
Trim the excess material: Use a utility knife or scissors to trim any excess screen material from the edges of the frame.
More interesting articles you may be interested in reading:
Potato Grow Bags: The Key to a Convenient, Pest-free, and Bountiful Harvest
Fluffy Miniature Cows Are SO CUTE and They Make GREAT PETS.
20 Ways to Deter Rabbits from Eating Your Garden
How To Get Rid Of Wasps With Just A Brown Paper Bag
How To Get Rid Of Any Burrowing Animals With This Dawn Soap Solution
Thanks for reading and be sure to share this info with your friends using the social share buttons below.
Talking about social stuff, consider liking our Facebook page to keep up to date with our articles. Check out our other articles for more mental scoops


